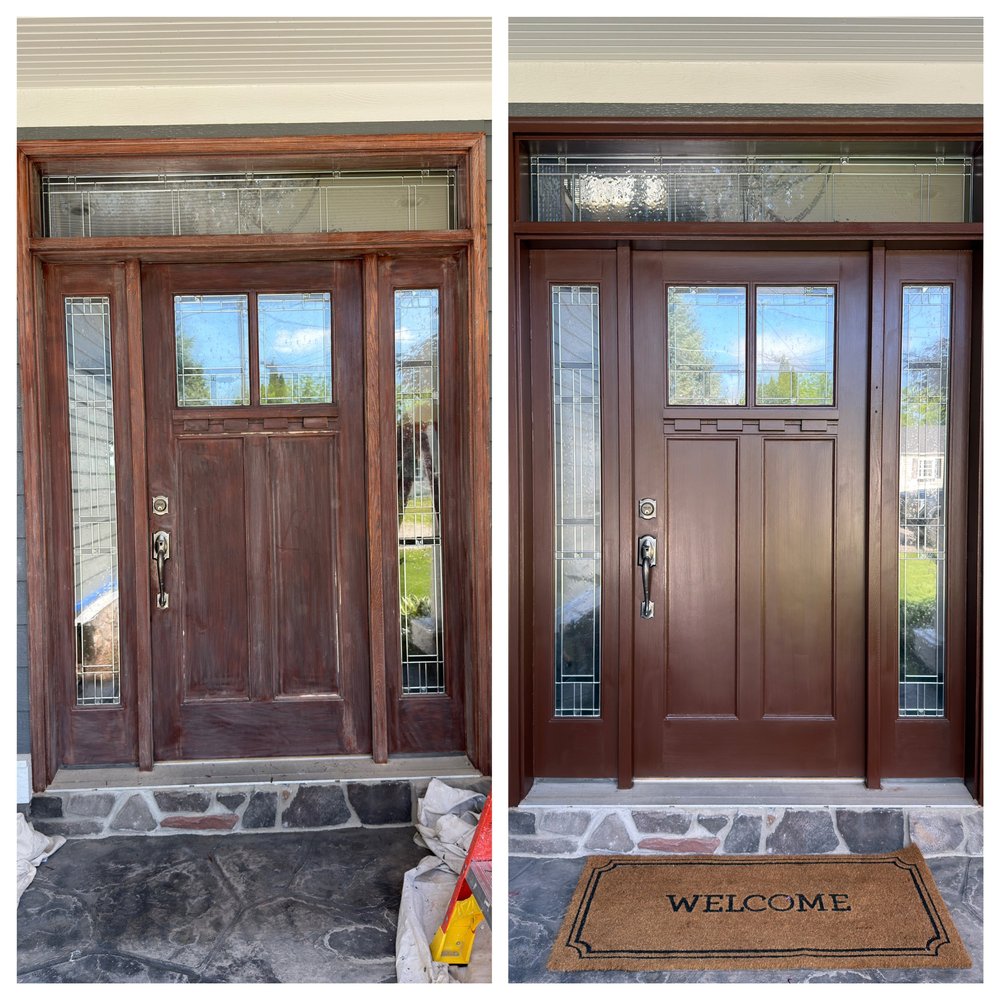
An entryway refresh, down to the doors and trim
An entrance brings several painted surfaces into one small area: the front door, its surround, closet doors and the trim that connects them.
Read the project storyReal work from the QOQ project gallery
A curated path through real QOQ interiors, exterior surfaces, trim, and repair-related preparation from our Fenton, Michigan painting team.
Inside the work
Stories about real painted surfaces: the details in the photographs, and what to consider when planning similar work.
An entrance brings several painted surfaces into one small area: the front door, its surround, closet doors and the trim that connects them.
Read the project storyThe preparation stage is easy to read in this QOQ comparison: pale patches stand out against an orange feature wall.
Read the project storyThis Gaines project shows a tall wall beneath an existing wood ceiling.
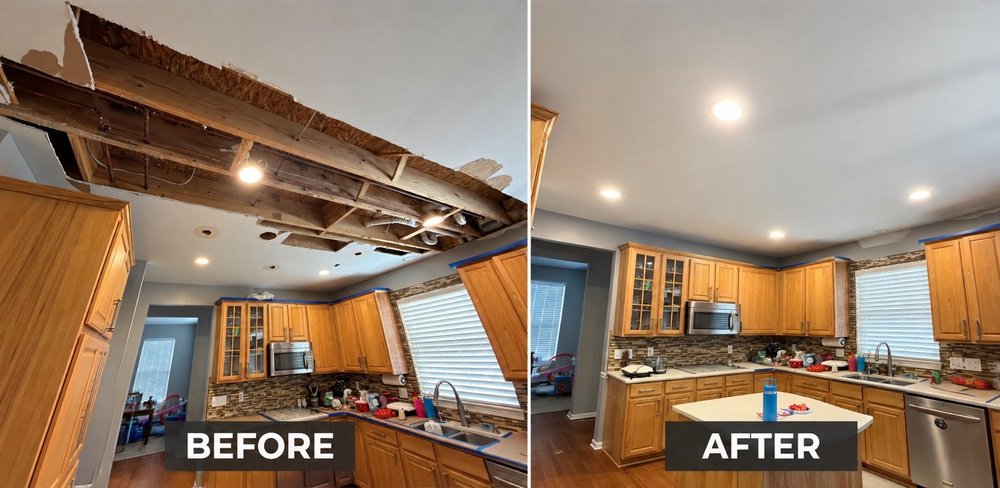
Read the project storyThis new-construction project brought drywall correction and painting together.
Read the project storyRecent transformations
A closer look at recent QOQ painting projects. Original photographs, honest comparisons. Select a photograph to see the details.
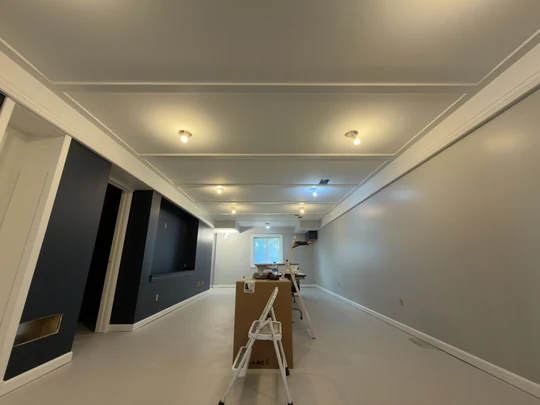
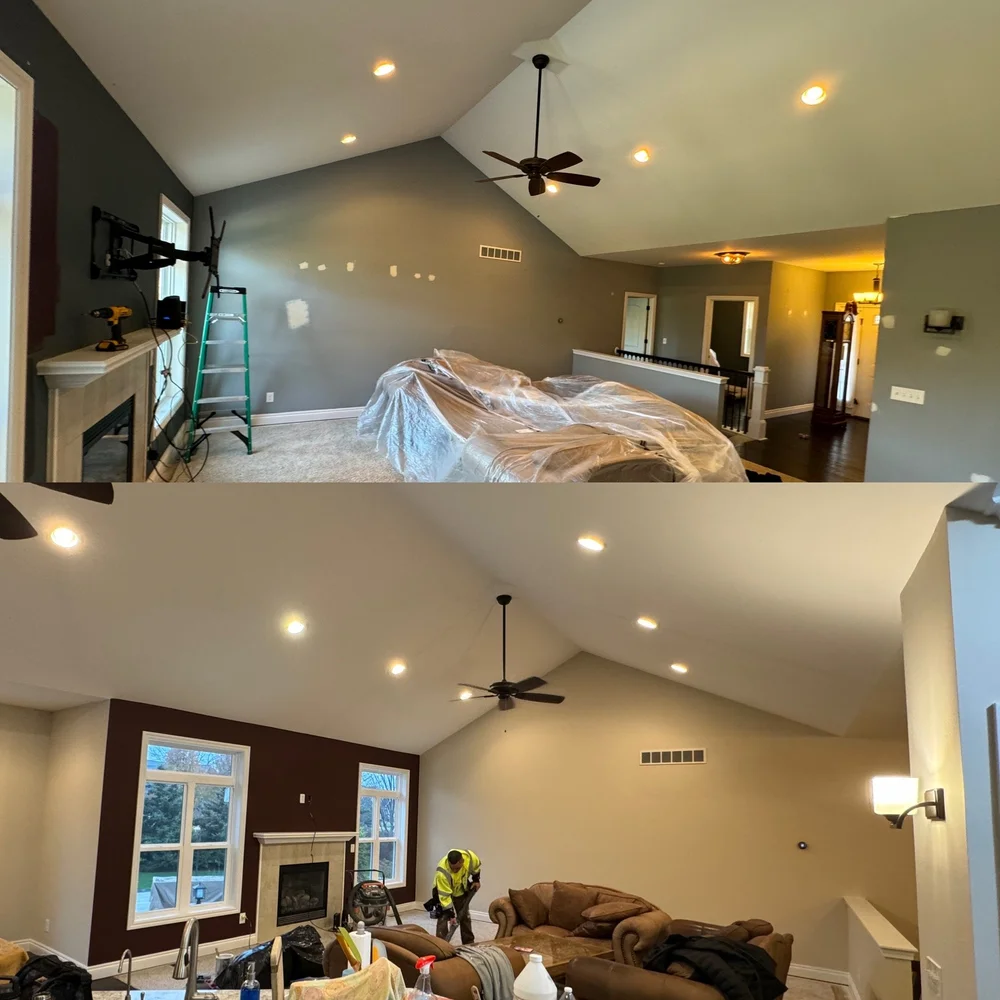
Drywall corrections and painting in a new-construction interior. See the matched main-room comparison and other views of the painted project.
Read the drywall-to-paint transformation story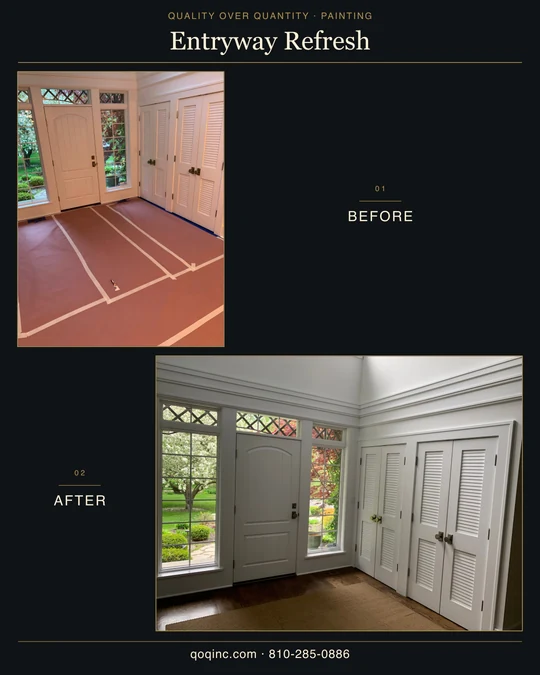
An entrance, closet doors, and trim shown during protection and after the painted surfaces were finished. Original viewpoints and lighting are retained.
Read the entryway refresh story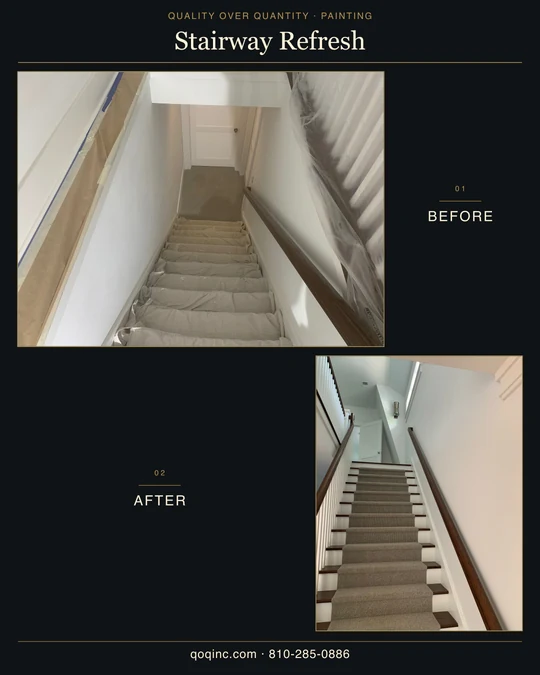
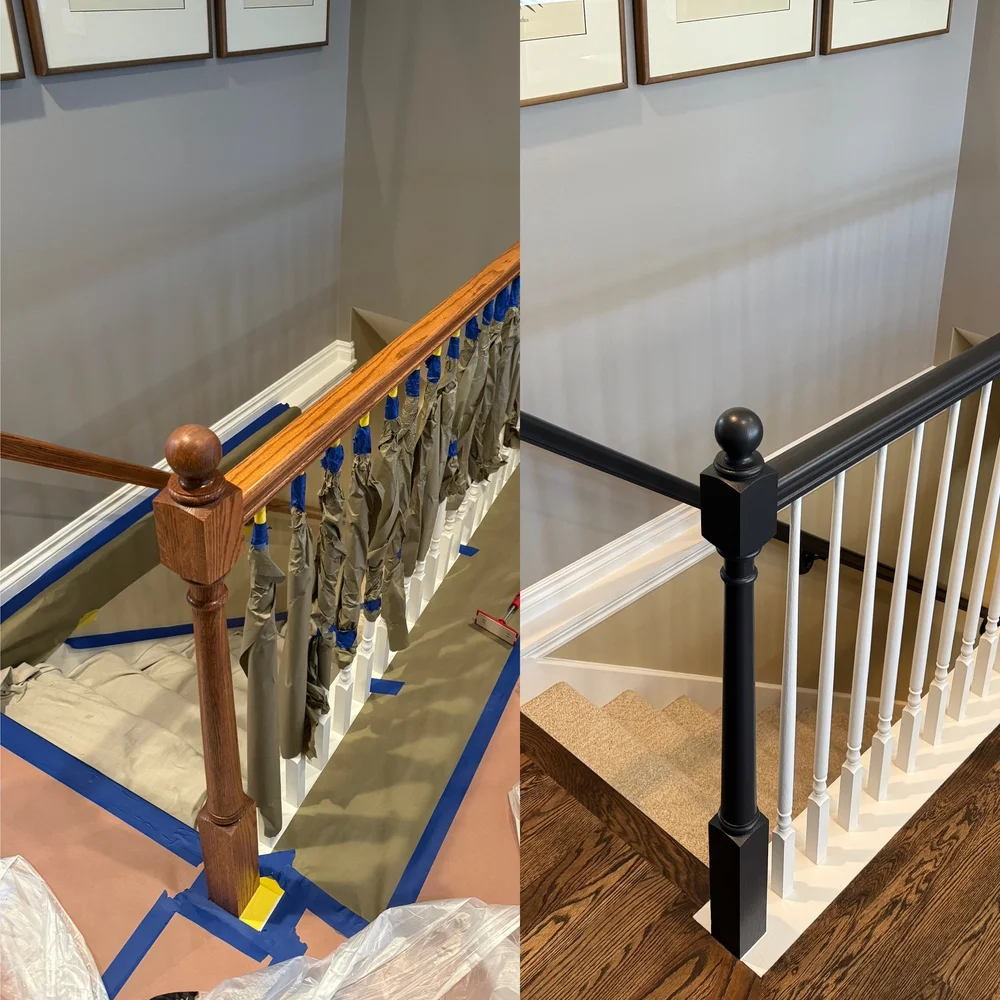
Protected stairway surfaces during the work, followed by finished painted walls. The two photographs look along the stairway from opposite directions.
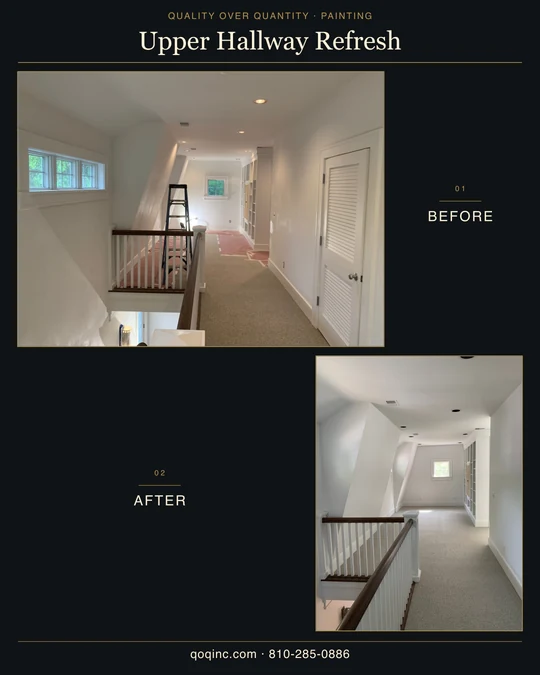
The upstairs hallway during wall preparation and after painting. Different viewpoints and natural lighting remain visible.
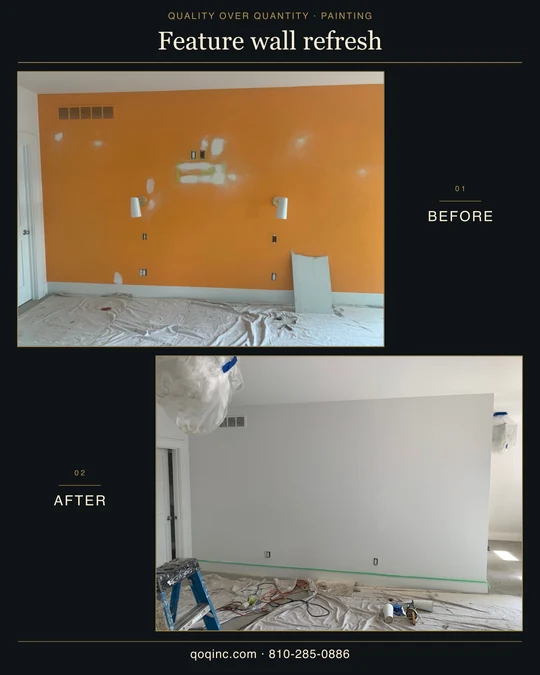
A patched orange feature wall followed by its pale painted finish. Floor protection, tools, and unfinished surrounding details remain visible.
Read the feature wall refresh story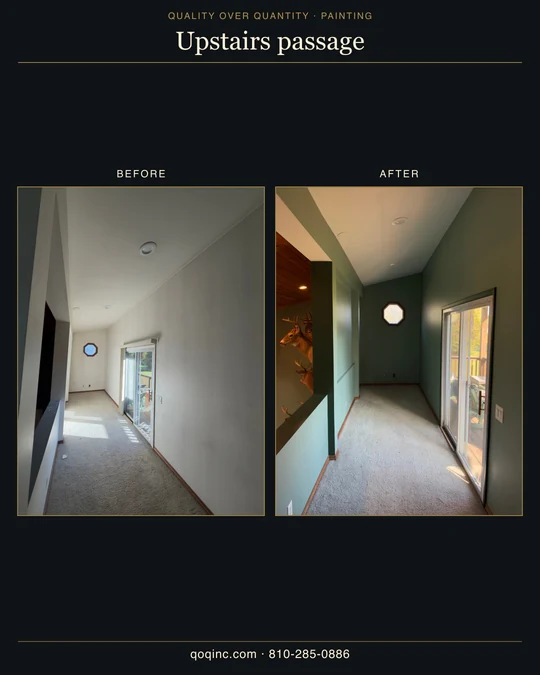
A matching octagonal window and sliding door anchor this comparison of the upstairs passage. The photographed paint scope is complete; unfinished trim remains visible.
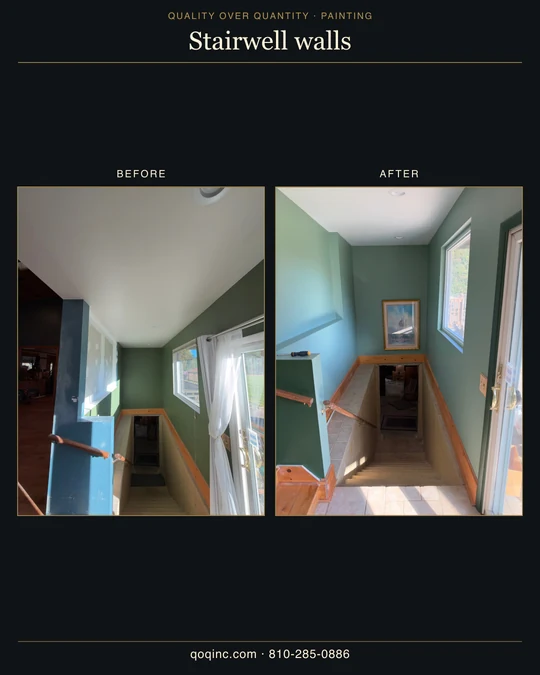
Patched stairwell walls followed by the finished green paint. The original handrails, unfinished stairs, stored items, and tools remain in the photographs.
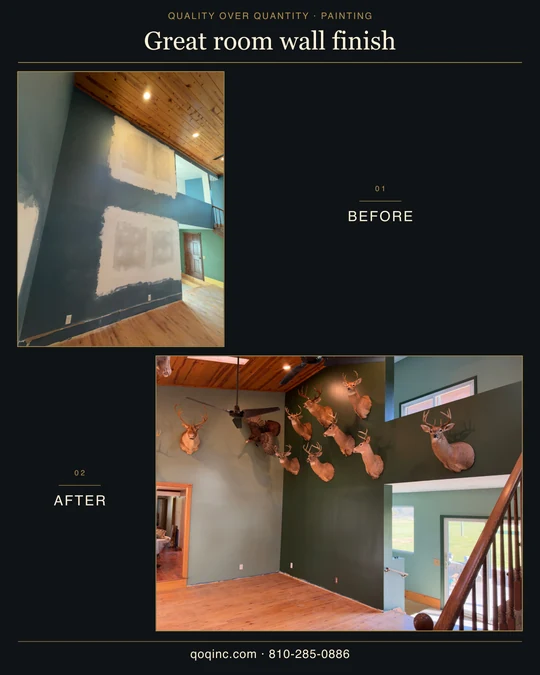
Preparation patches and the finished dark green great room wall. Camera position and distance differ; the existing wood ceiling and unfinished lower trim are retained.
Read the great room wall finish storyAll project categories are shown.
Photo gallery
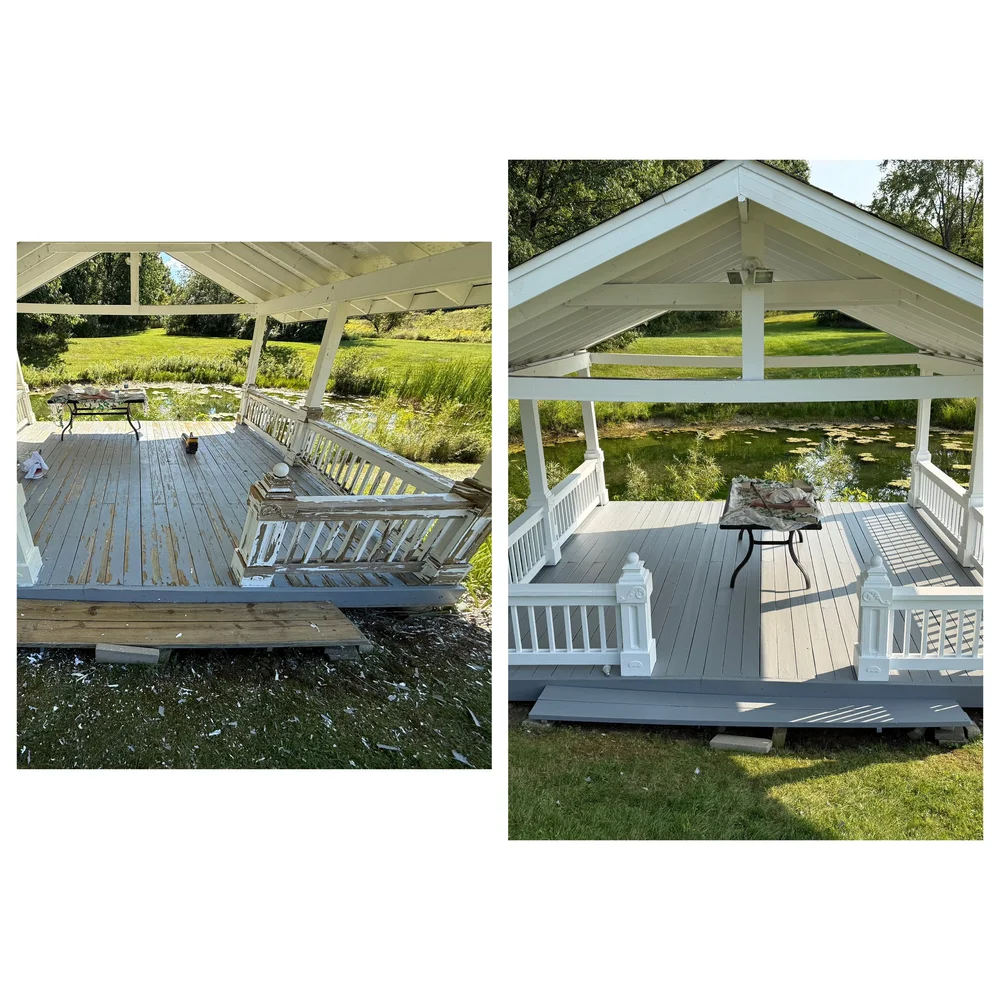
Use the captions to compare the surfaces, preparation needs, and visible finish—not just a room’s overall transformation.
Tell us about your project
Share the rooms, exterior surfaces, repairs, location, and timing you have in mind. We will discuss the scope and the next step.